Eclipse is aware of the Version Control aspects of the project.

(Use both the Eclipse Git plugin and optionally the shell git command).
This choice is the preferred choice for collaborating with the Ptolemy group because it means that your Ptolemy II tree can get recent changes.
The downside is that that the development tree is under development, so there may be bugs or instability.
A further downside is that to use Git under Mac OS requires installing XCode, which requires an Apple ID and is also a one or more gigabyte download

For other ways to set up Eclipse and Ptolemy II, see the Setting up Eclipse to manage your Ptolemy II development Environment page.

In Eclipse, add the ptII Git Repository:

  1. Choose the Window menu | Show View | Other | Git | Git Repositories and then hit Open:

    Eclipse Git Show View

  2. In the Git Repository View, you may need to resize the pane by dragging the upper border upwards.

    Eclipse Git Repositories

    In the Git Repository View select Clone a Git repository.
  3. In the Select Repository Source window, select Clone URI and click on Next:

    Eclipse Clone Git Repository

  4. In the URI field, paste
              https://github.com/icyphy/ptII
            

    Eclipse Source Git Repository

    Optional If you have write access to the repository, add your user name and password to the Authentication section.
  5. In the Branch Selection window, click on Deselect All, then click on the box next to the master branch, then Next:

    Eclipse Branch Selection

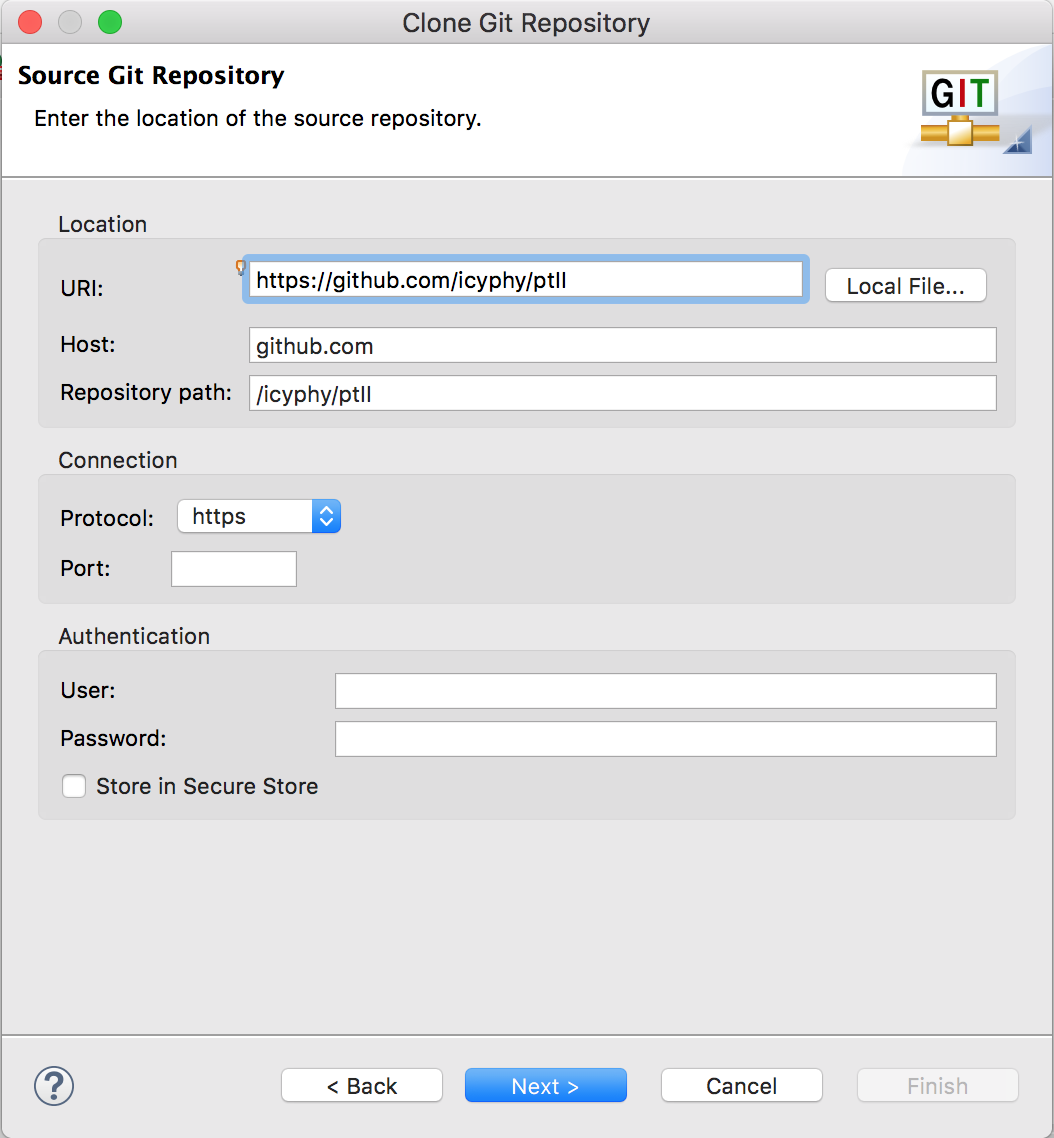
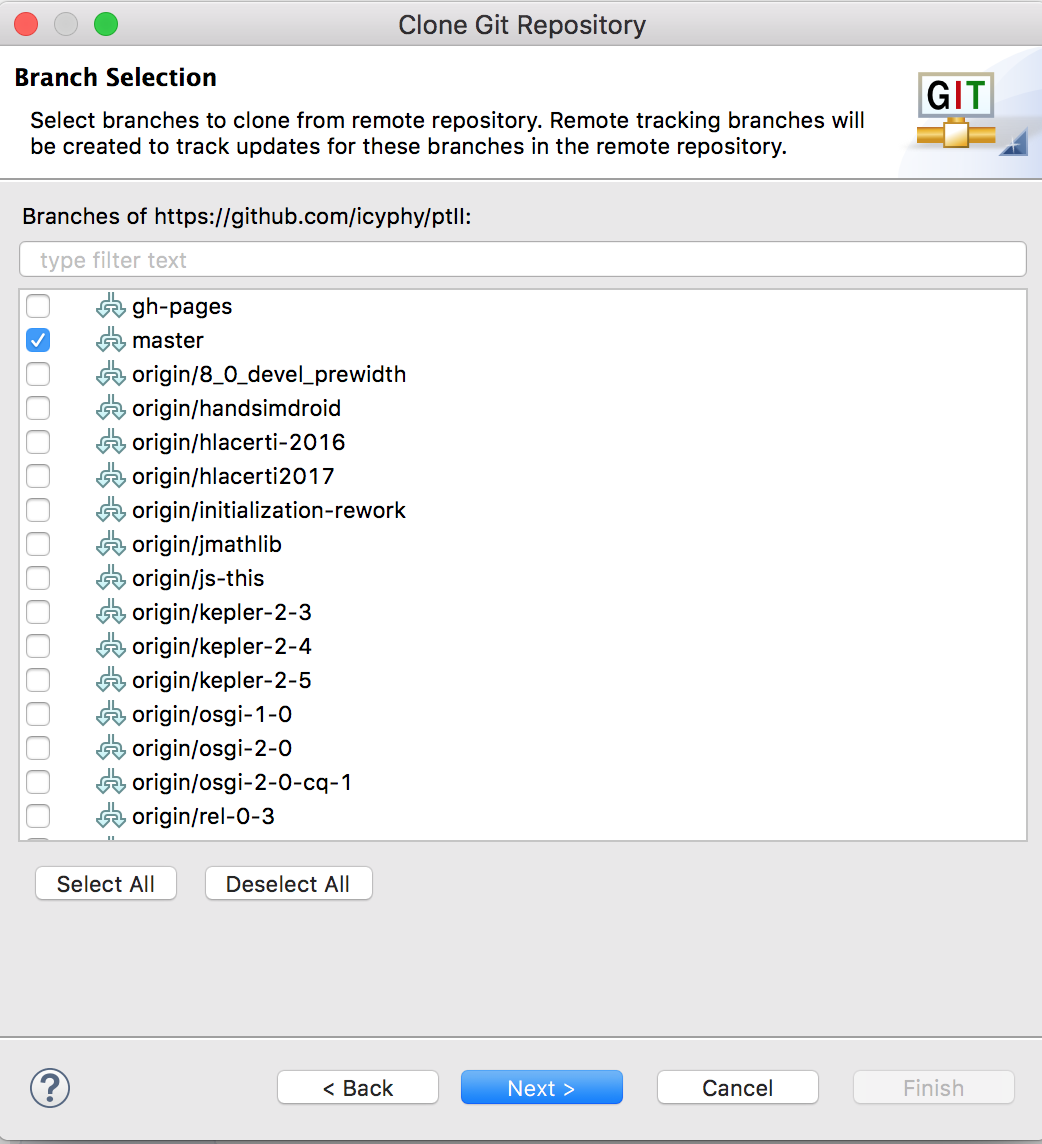
    Be sure to check out the master branch and not the entire tree, which include all the branches and the trunk.
  6. In the Local Destination window, the defaults are probably fine. Click Finish

    Eclipse Local Destination

  7. The clone will occur, which will take a few minutes.
  • If you do not have a git binary installed, and you wish to use CapeCode, the development environment for IoT Accessors, then you will also need to check out the accessors git repo from within Eclipse.
    1. In the Git Repositories pane, click on the icon at the top with an arrow. If you hover over this icon, you will see "Clone a Git Repository and add the clone to this view"
    2. In the Clone Git Repository window, click on Clone URI
    3. In the Clone Git Repository window, enter the following for URI: https://github.com/icyphy/accessors
    4. and click on Next
    5. In the Clone Git Repository window/Branch Selection, select only the master branch.
    6. Important: In the Local Destination window, change the Destination Directory to the org/terraswarm/accessor directory where the ptII repo was checked out. Typically, this of the format C:\Users\YourLogin\git\ptII\org\terraswarm\accessor
    7. Hit Finish, the accessors repo should be checked out.
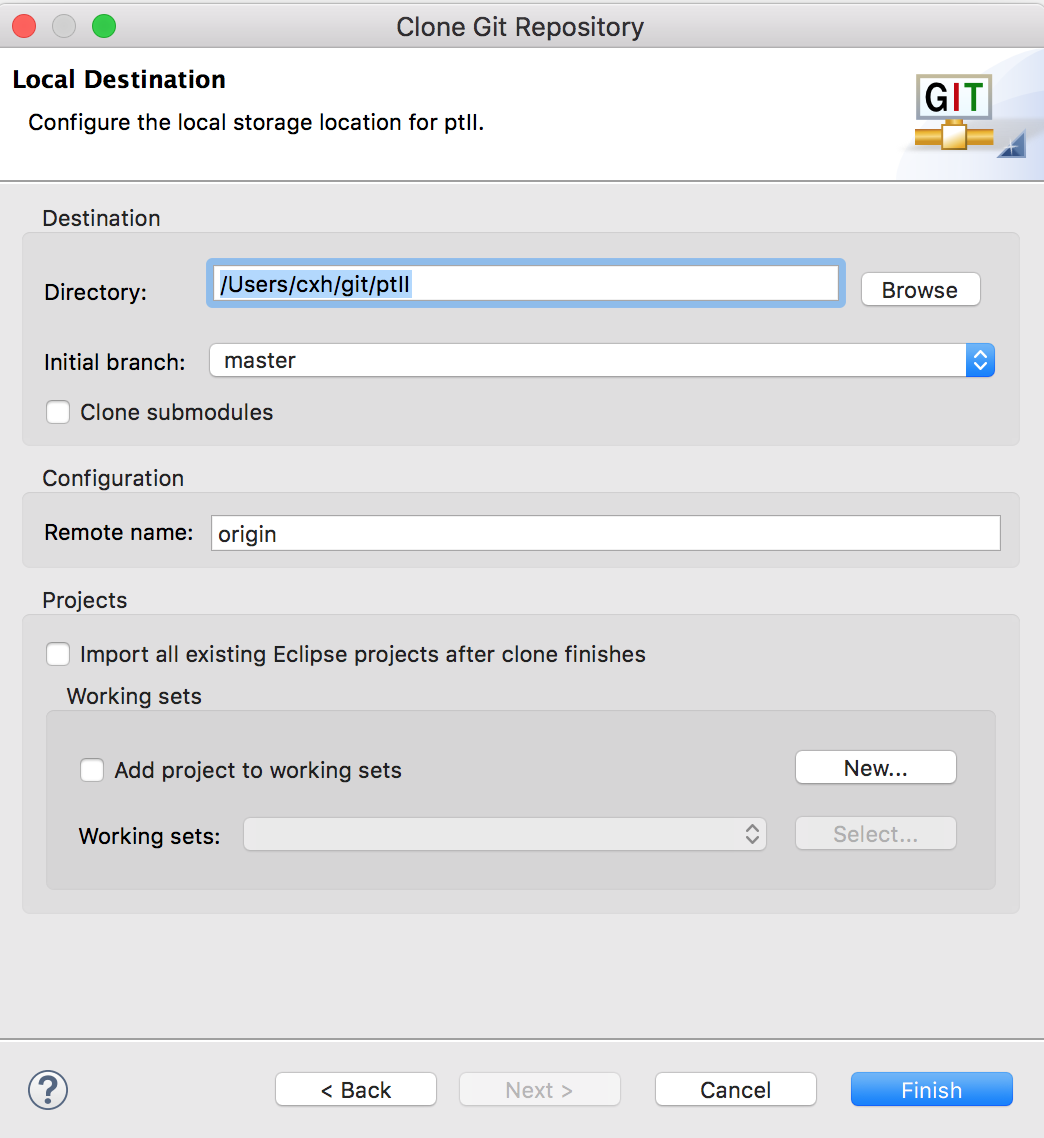
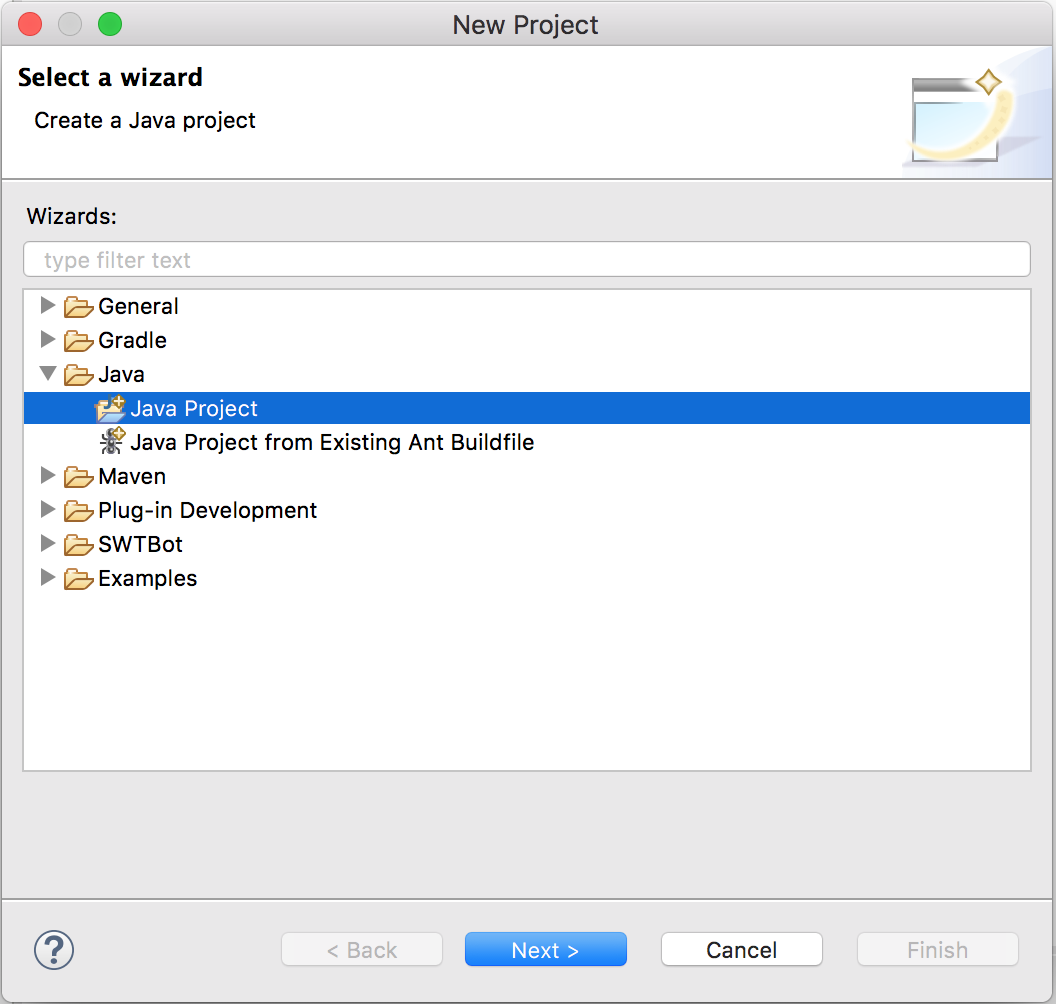
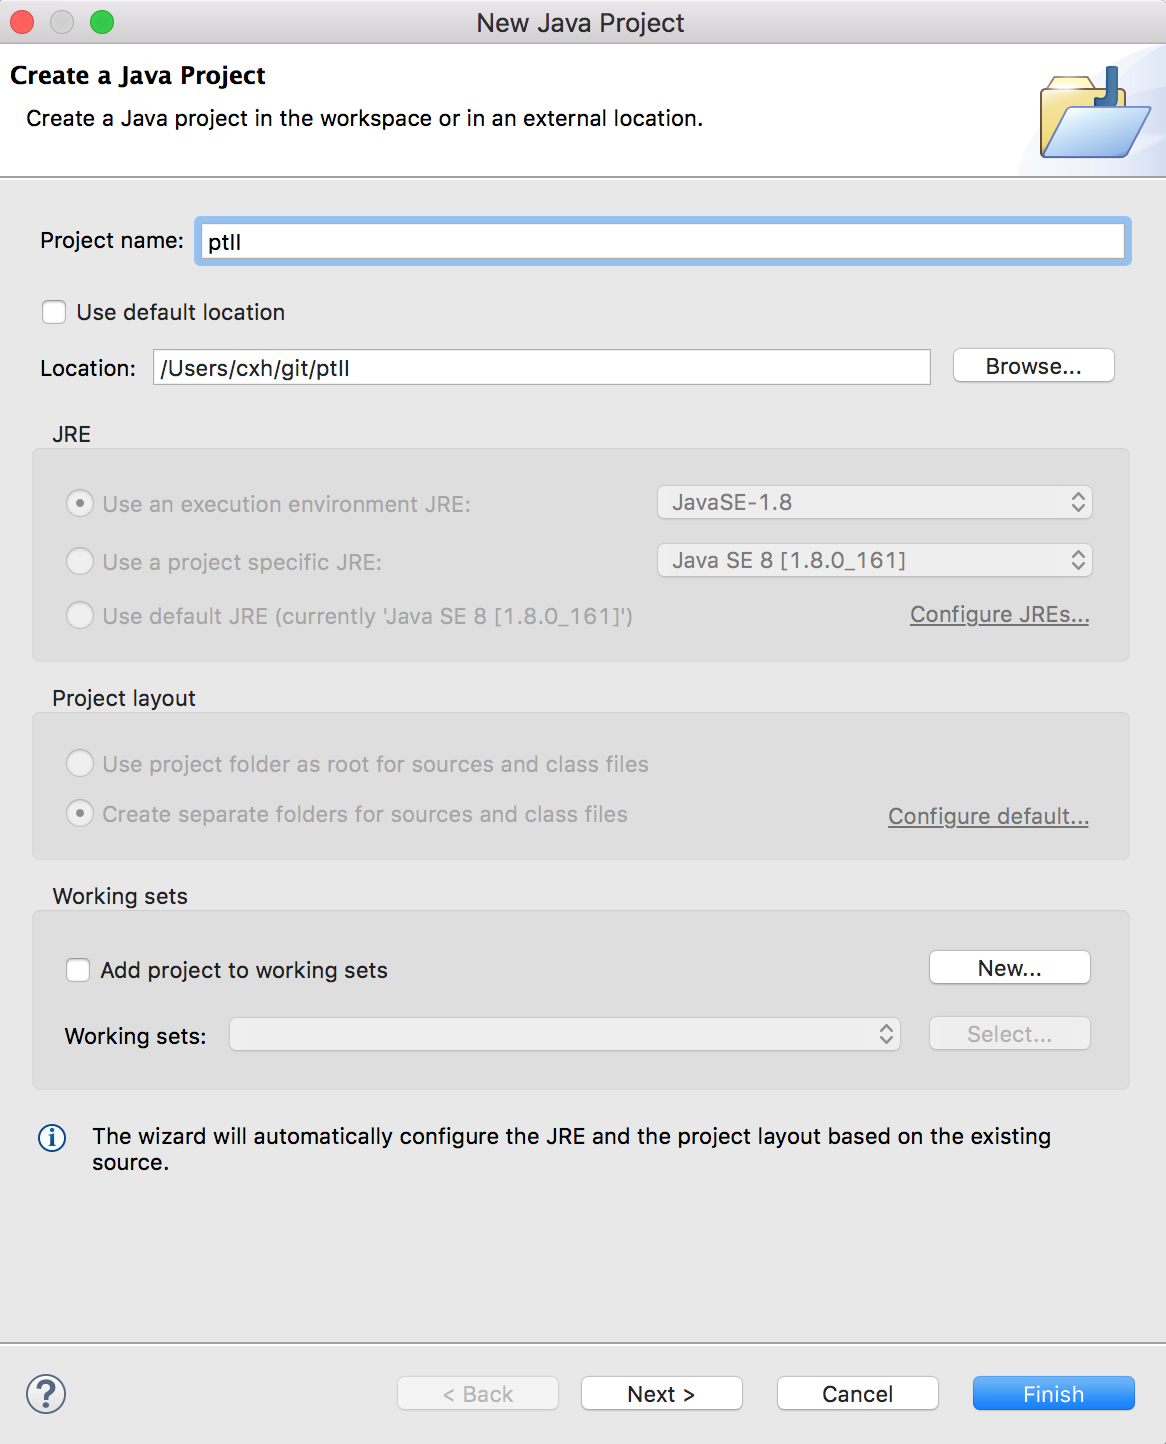
  • To set up the Eclipse project, follow these steps:

    1. In the File menu, select New | Project ..
    2. In the New Project window, select Java | Java project, Click Next.

      Eclipse New Project

    3. In the Create a Java Project window:
      In Project name, enter any project name, ptII is a common choice.
      Uncheck Use default location and browse to the location of the ptII git repo, which is usually in the home directory as git/ptII.
      Hit Finish
      Below is the Create a Java Project window:

      Eclipse Create A Java Project

    4. Click Next.
    5. In the Java Settings window, change the Default output folder to ptII/eclipse.

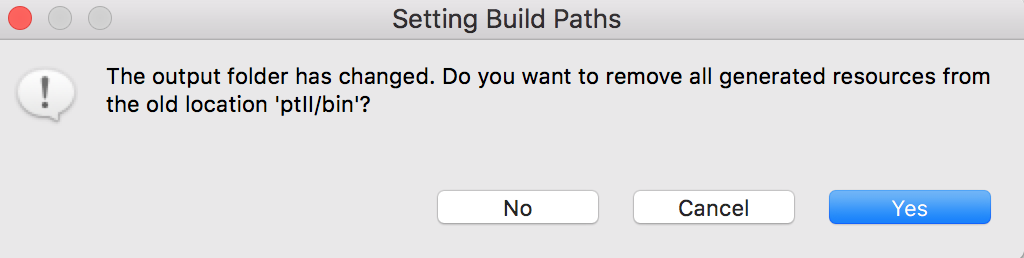
      In Ptolemy II, the $PTII/bin directory contains Ptolemy-specific scripts. Unfortunately, Eclipse wants to write .class files to that directory. In versions of Eclipse before Oxygen, it was possible to import a project have the output directory be the same as the project. Unfortunately, this is no longer possible, so we have Eclipse output files into $PTII/eclipse

      Ideally, we would have a $PTII/.project file that would define the Ptolemy II Eclipse project, which could then be imported. Unfortunately, the format of the .project file does not support having the output files the same as the project.

      Here's the Java Settings window:

      Eclipse Java Settings

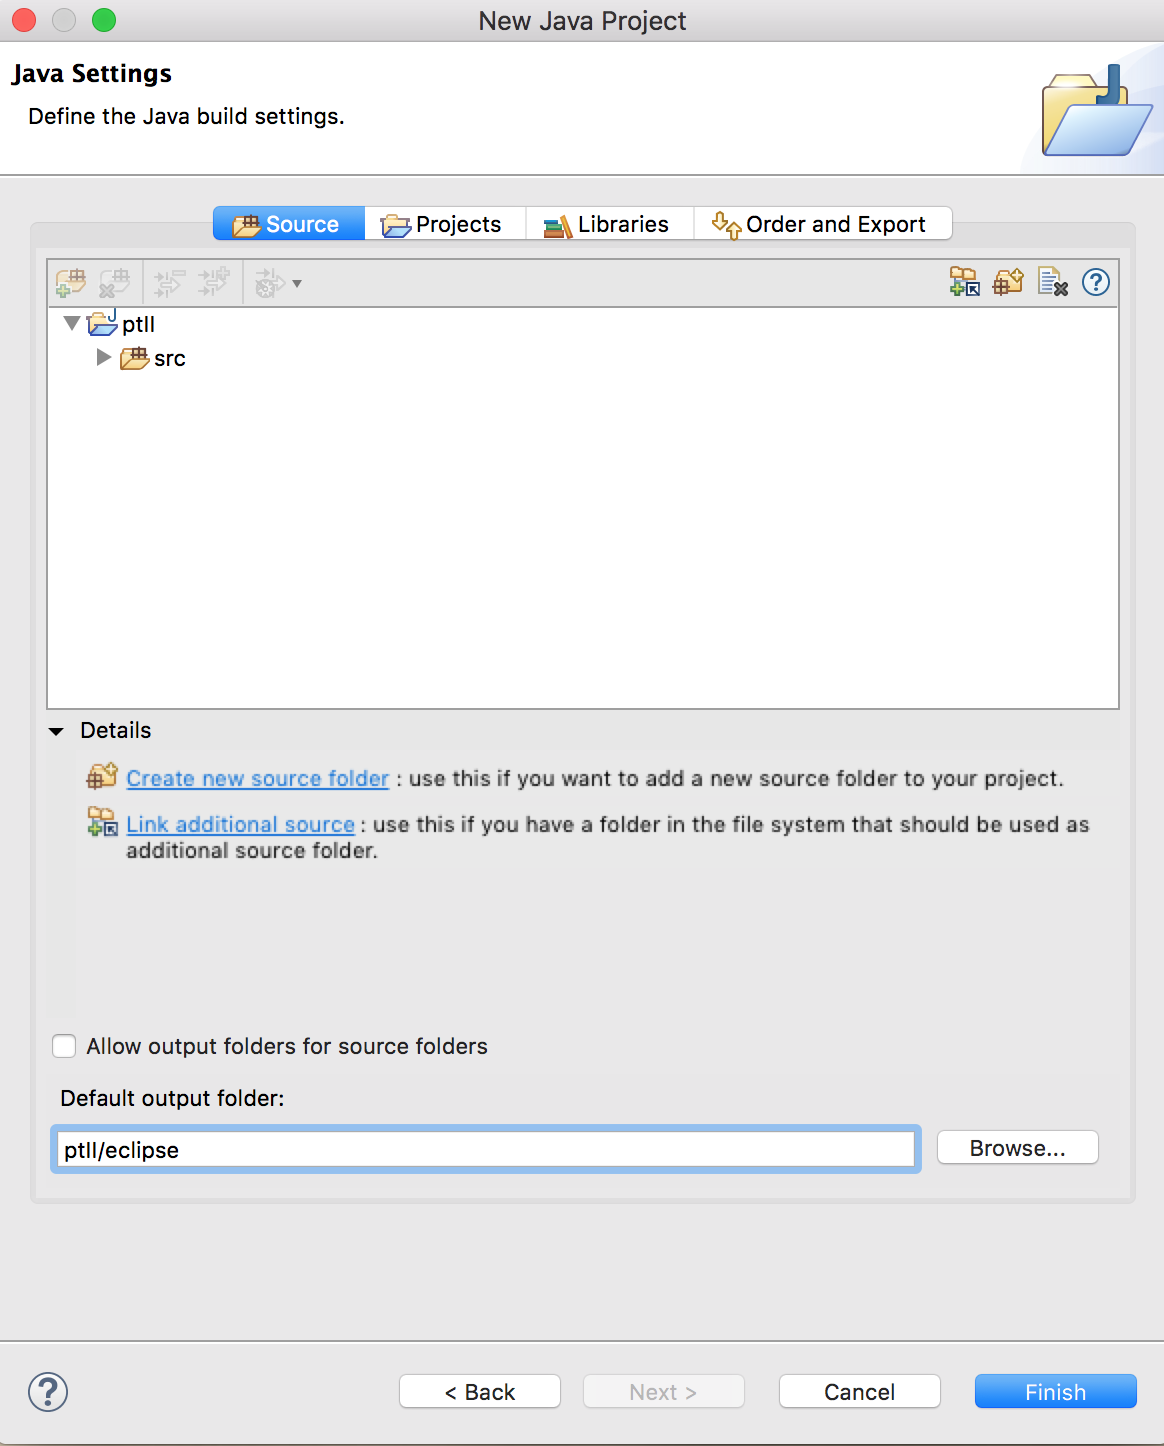
      Be sure to change the Default output folder from ptII/bin to a directory that does not exist, such as ptII/eclipse. If the output folder is ptII/bin, then Eclipse will remove the contents of $PTII/bin including $PTII/bin/vergil, which is how Ptolemy II is started from the command line.
    6. Click Finish.
    7. The Setting Build Paths window may appear and ask if you want to remove all the generated resources from the old location 'ptII/bin'. Click No.

      Eclipse Java Settings

    8. The Open Associated Perspective? window will appear. Click Open Perspective.
    9. There will likely be many errors. These are solved in the next step.
      All users should go on to Set up the Eclipse ptII project .classpath for Ptolemy II