|
Video ContentsAudio
|
AUDIO: [ Overview ] [ Laptops ] [ Audio ] [ Video ] Each of the four mics, two stand-up and two wireless are assembled and plugged into the mixer.
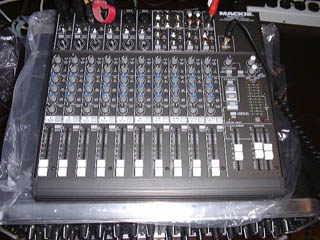
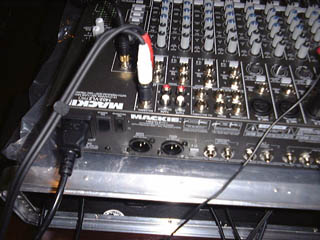
The mixer.
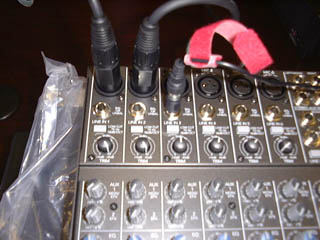
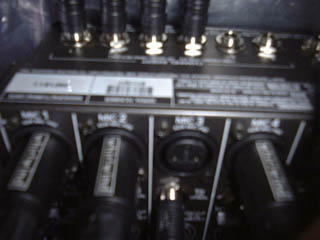
Top left corner of mixer provides audio "in" for each of the four mics. 1. Set up the each of the mics. The wireless mics are different units and have their own cables and antenna units. The wireless component can be clipped to a speaker's pocket or belt, The antenna unit for each then receives the signals and is connected to the mixer. has it's own has its own antenna unit and is
The wireless mic units are attached to a presenter.
Wireless mic with cables.
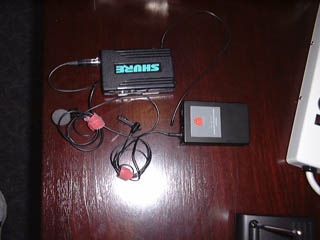
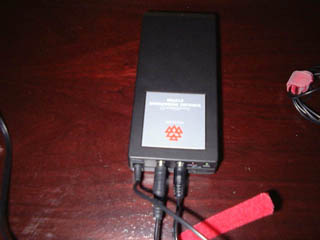
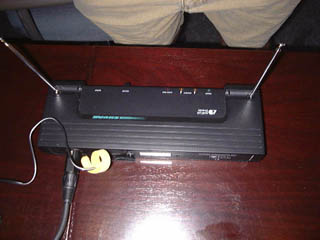
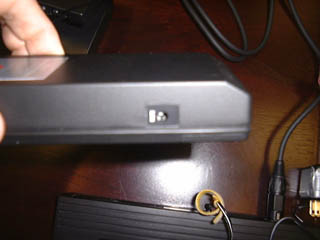
Receiver for one of the wireless mics.
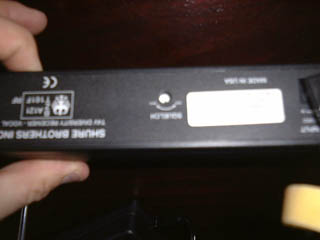
Adjusting squelch on the wireless mics: A tiny screwdriver is stored with the wireless mic units and is used to adjust the wireless mics if there is any feedback or squelch.
Here is the squelch adjustment location on mic #2
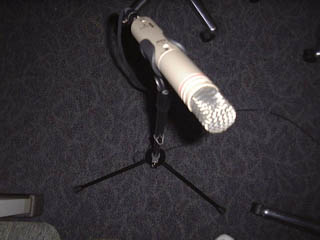
Stand up mics are set up using the stands. Make sure the mics are turned on.
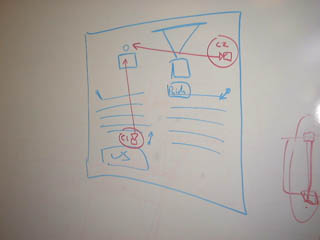
Here is a rough plan for the stand-up mics. They should each be placed at the front of the room facing the audience.
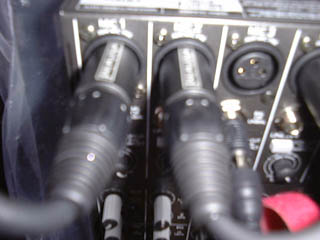
Once each of the four mics is set up and plugged into the Mackie mixer. The ports for these mics is at the top left of the Mackie unit.
This close-up shows the four mics plugged into the mixer board.
This cable, that splits from one black end to red and white outputs is the kind used in the next step.
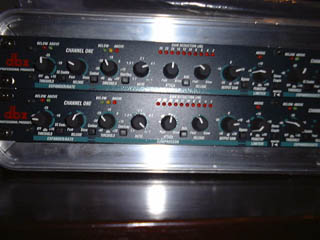
Cables are then used to attach the audio out from each mic down into the compressor unit. The output from each mic is located on the rear side of the Mackie mixer and each slot corresponds to the mics, 1 through 4.
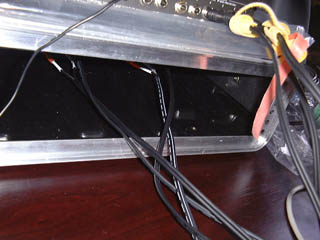
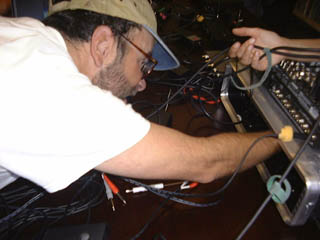
The four cables from the mic output wrap around and enter the rear of the compressor unit.
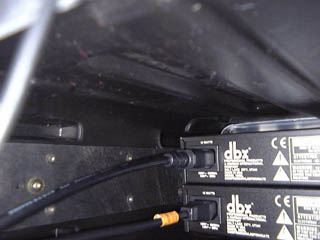
Making the connections inside of the comressor unit can be difficult as the space is tight and it is dark inside of the unit. A flashlight is helpful.
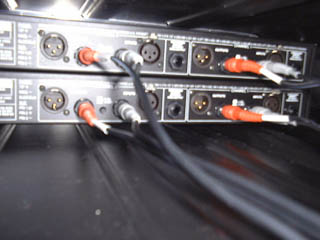
Each cable splits into two ends, white and red, which are attached as shown inside the compressor unit.
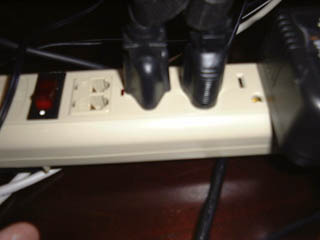
Two power cords also need to be attached inside the compressor unit.
and supplied with power.
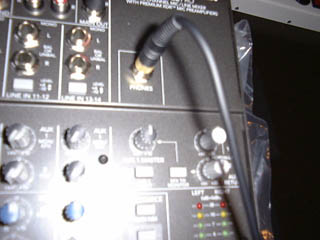
The output of the mixer is located at the top right of the mixer board.
This output is then fed into the laptop via the sound input as shown. It is the cable on the left(with the yellow tape). The right cable is the s-video input which comes from the Navatar.
The headphone jack is located on the top right corner of the sound mixer.
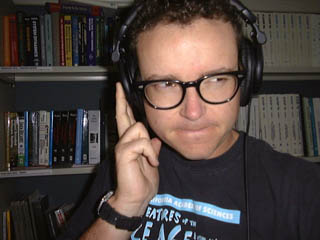
Use the headphones to make adjustments to the sound levels.
Here's a picture of some buttons and knobs that have been adjusted.
|